Data conversion takes the data from a previous ShipGear 3 installation and converts it to ShipGear 4 format. Once you have successfully installed ShipGear, the data conversion utility will run.
Any interfaces that were converted from more than 1 existing ShipGear 3 database will reflect the workstation name in the new interface name. For example, "My Interface Workstation 1".
The following ShipGear 3 data is converted :
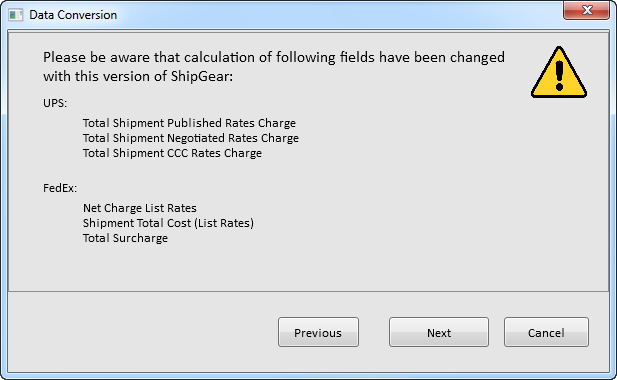
If you previously used the following fields in Freight Rules, please be advised of the following changes and be sure to test your freight rules to make sure they work as expected :
UPS
These fields are now corrected to include the fuel surcharge.
FedEx
These fields are now corrected to use list instead of custom rates.
Note : For instructions on creating a Freight Rule that writes back the List Rate in FedEx Ship Manager when the Custom Rate is shown, see our Knowledgebase article #03882.
The new freight rule is "Freight is set to Shipment field "Shipment Total Cost (List Rates)".

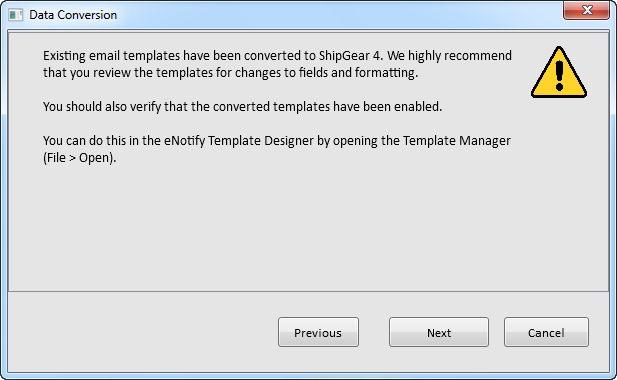
Any existing email templates are converted to ShipGear 4. You should double-check your templates to make sure the fields and formatting are still as expected, and also verify that the newly converted templates are enabled. For more information about templates, see the eNotify Help.
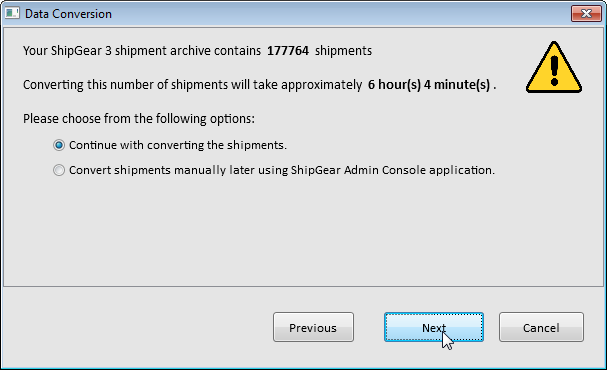
Next, ShipGear will convert the ShipGear 3 shipment archive into ShipGear
4 format.
When shipment conversion will take more than
30 minutes, you can choose to either convert the existing shipments
now or convert them manually later in the Admin Console.
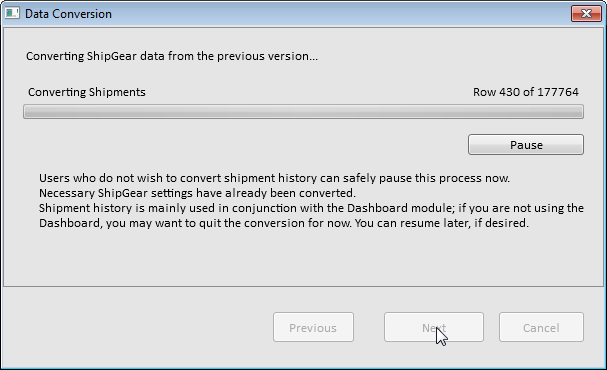
Once the shipment conversion process starts, you can safely pause it if
you need to and still process shipments with ShipGear 4. When Shipment
Conversion takes place, the necessary ShipGear settings have already been
converted. Shipment history is mainly used in conjunction with the Dashboard
module; if you are not using the Dashboard, you may want to quit the conversion
for now. You can resume later, if desired.
Resuming Shipment Conversion after Pausing
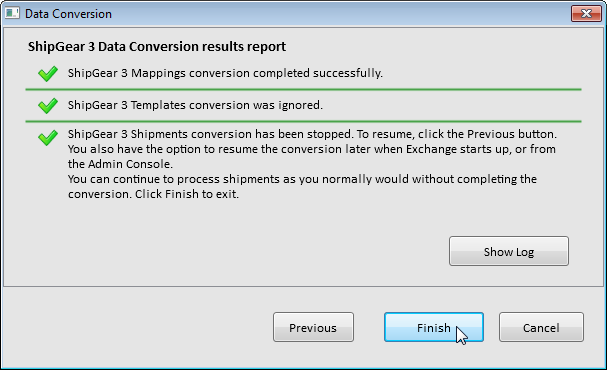
When Shipment history conversion has been paused, you
can resume by clicking the Previous button. You also have the option to
click Finish and resume the conversion later when Exchange starts
up, or from the Admin Console. You can continue to process shipments as
you normally would without completing the conversion. See the note below
for information about resuming shipment conversion when Exchange starts
up.
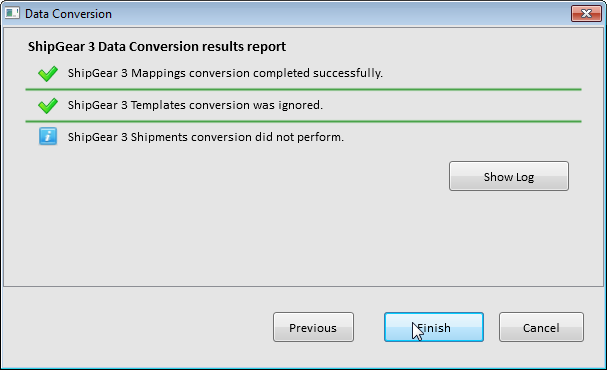
No Shipment Conversion
If you chose not to convert shipments, this is how the final dialog of the conversion will appear.
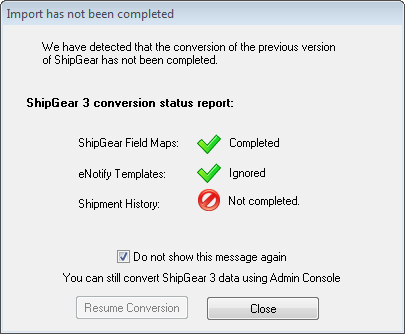
When you open ShipGear Exchange, it will detect that Shipment History has not been converted. You can choose to opt out of shipment conversion by checking the "Do not show this message again" check box. You can also resume the conversion of Shipment History by clicking the Resume Conversion button.
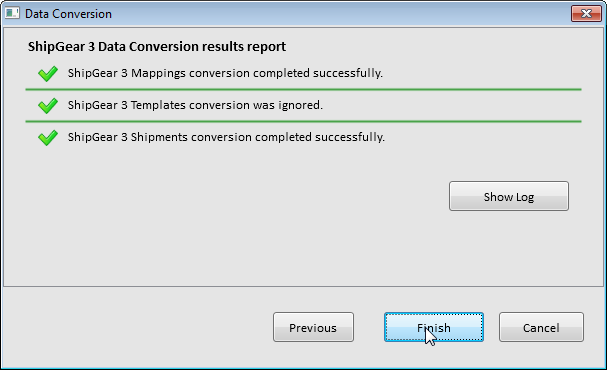
Normal Shipment Conversion
If you did convert your ShipGear 3 shipments, the final
dialog will confirm that they were successfully completed. Click Finish.
The data conversion utility can be run from the ShipGear Admin Console to continue a previous incomplete conversion process or to start a new one.