Freight Write-Back
To set up freight Write-Back in ShipGear:
-
Click the Customize Interface button.
-
Select the Sales Trx document.
-
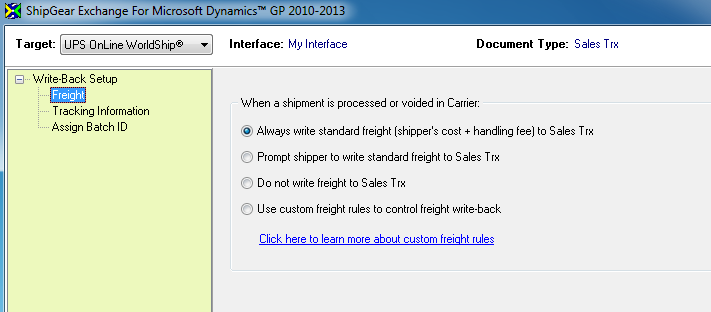
Click Write-Back Setup and then select the Freight node.
-
Automatically write standard freight to Sales Trx : When you save or void a shipment in the carrier system, ShipGear writes the freight amount to your source document. This is the default setting.
-
Prompt shipper to write standard freight to Sales Trx : When you save or void a shipment in the carrier system, the shipper receives a prompt asking if freight should be written back to the source document.
-
Do not write freight to Sales Trx : Freight will not be written back.
-
Use custom freight rules to control freight write-back : If the Custom Freight Rules option is enabled in ShipGear, you can control how freight charges are written back to your Sales Trx. You can use freight rules to modify the actual freight from the carrier system, or override that freight with a new amount. See Freight Rules Help for more information.
-
Click the Apply button to save your changes.
When writing freight back to Dynamics GP, ShipGear will write the total freight (Total Shipper Cost + Handling Fee) for all non-voided shipments processed that day. If the Freight is taxable, ShipGear automatically calculates and writes back the Freight Tax.
WorldShip screen
|
Freight Written Back to Sales Transaction Entry
|
|
 à à
|

|
Limitations
You will receive a warning and freight will not write back under the following conditions:
-
for "Return" type Sales Transactions;
-
if the currency on the Sales Transaction (Currency ID on the Sales Transaction Entry screen) is not the functional currency. This setting is configured in Dynamics GP in Setup > Financial > Multi-Currency > Currency ID;
-
if any of the Sales Tax Details which apply to freight are not based on "Percent of Sale/Purchase." You can view Tax Details in Dynamics GP in Setup > Company > Tax Details (the Based On field).