The first time you run ShipGear after installing it, a wizard will launch to help you get things running. In the following steps, you will connect ShipGear to Sage 100 ERP and then link up with your carrier shipping software.
1. Run ShipGear Exchange : Start > Programs > ShipGear Client > Exchange
You can also double-click the ShipGear Exchange shortcut on your desktop.
The ShipGear icon (with a red dot in the center) displays in your system tray as ShipGear initializes : 
2. Shipment Email Notification Wizard
eNotify is a ShipGear module that automatically generates shipment notification, update, and cancellation emails for your customers when you save or change shipments in the carrier system. Emails are generated from templates that you can customize with data from fields in WorldShip or Ship Manager, and/or Sage 100.
The ShipGear Email Notification Wizard that runs during initial setup will help you to configure eNotify. You can go back and access this setup wizard at any time from Modules > ShipGear eNotify Premium > Configure.
For more information about the Email Notification Wizard, see eNotify Setup.
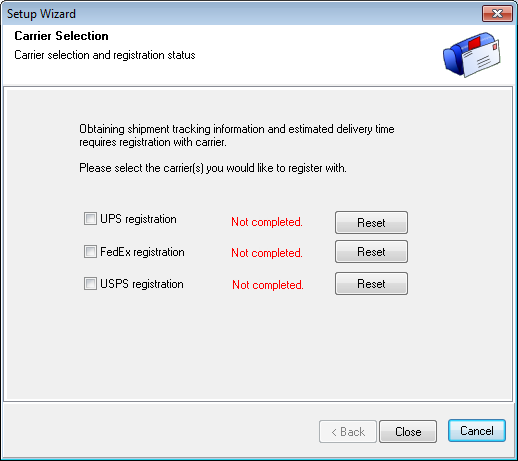
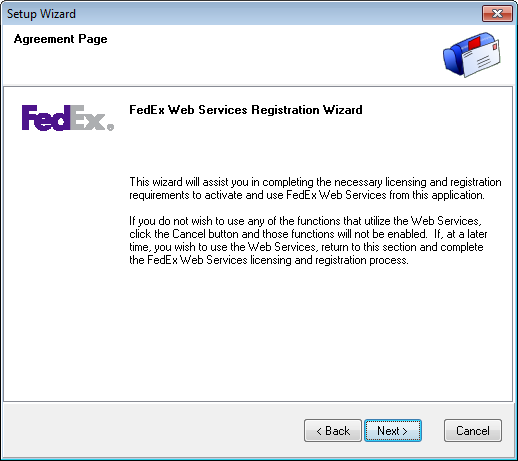
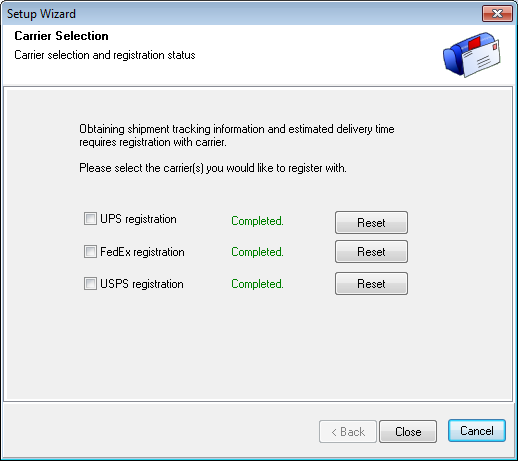
3. Carrier Selection
In the Setup Wizard, you can register carriers to enable the retrieval of estimated delivery times and tracking information for eNotify and the Dashboard. Click the check box next to the carrier and click Next to proceed.
The Reset button clears the current carrier registration information and allows you to re-enter it.
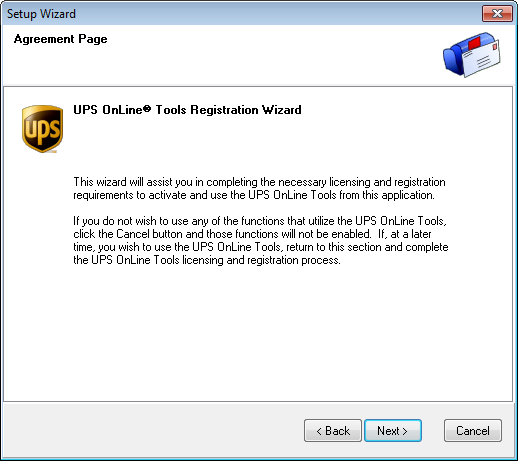
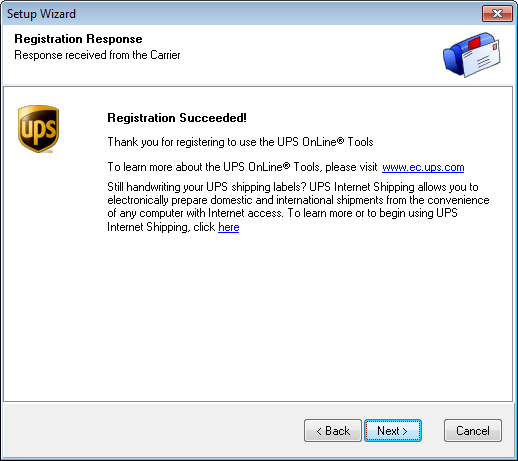
UPS Registration
FedEx Registration
Registration Completed
The Carrier Selection screen will show the registered carriers. Click Reset to re-enter registration information.
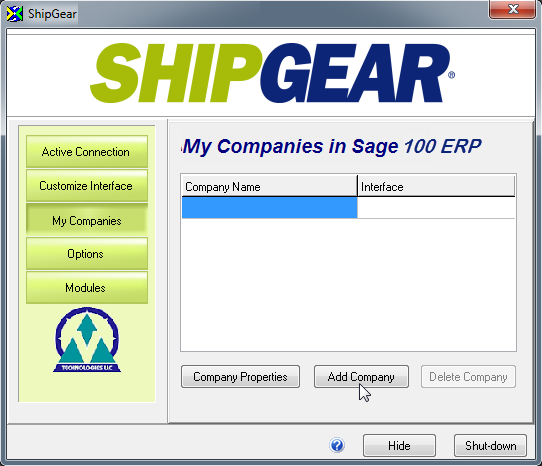
4. Add a Company
Once you have completed the wizard, you will receive a prompt saying that no companies exist. Click OK.
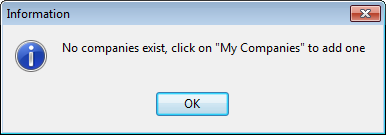
In My Companies, click the Add Company button to connect to a company.
From the Company field, select the company from the drop-down list and enter a User ID and Password.
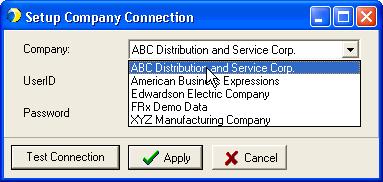
Click the Test Connection button to confirm that ShipGear has successfully connected to the company. Click OK.
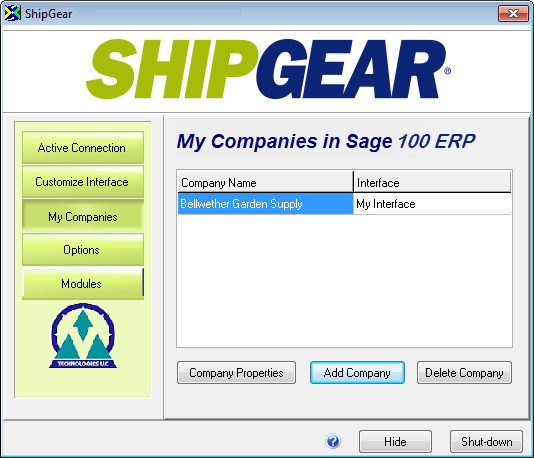
Click Apply. The company now appears in the company list. Repeat this procedure for each company you want ShipGear to access.
Declared Value warning
Select Yes to keep the declared value mapping and have ShipGear automatically select this setting in the carrier software.

Once connected to the company, you will notice that the red dot in the center of the ShipGear icon is now green.

5. Connect to the Carrier Shipping Software
Once ShipGear is connected to your Sage 100 ERP system company, follow these steps to connect to UPS WorldShip® and/or FedEx Ship Manager®.
UPS WorldShip®
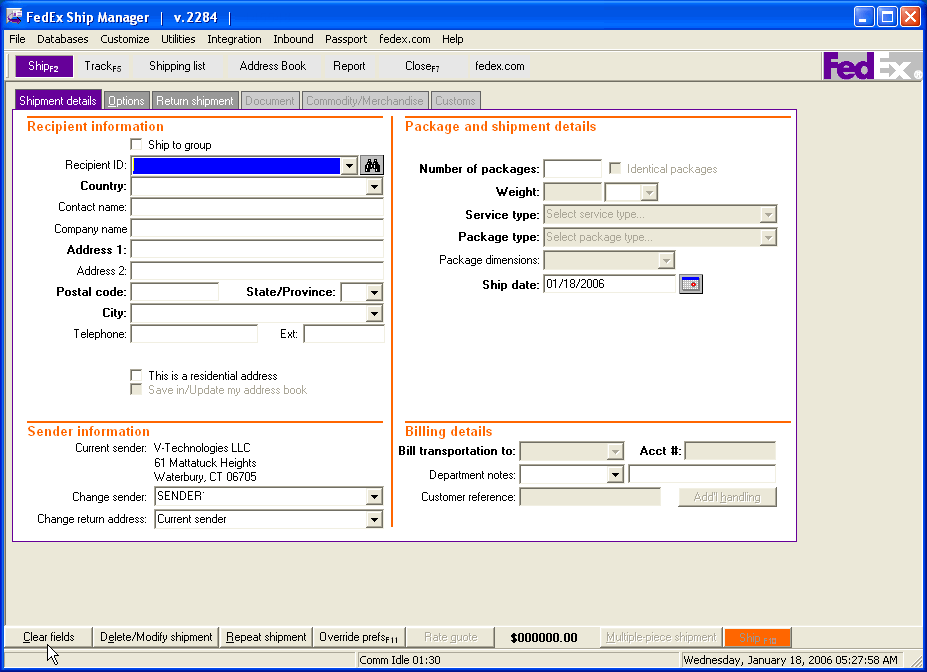
Once ShipGear is connected to your Sage 100 ERP company, follow these steps to connect to FedEx Ship Manager®.
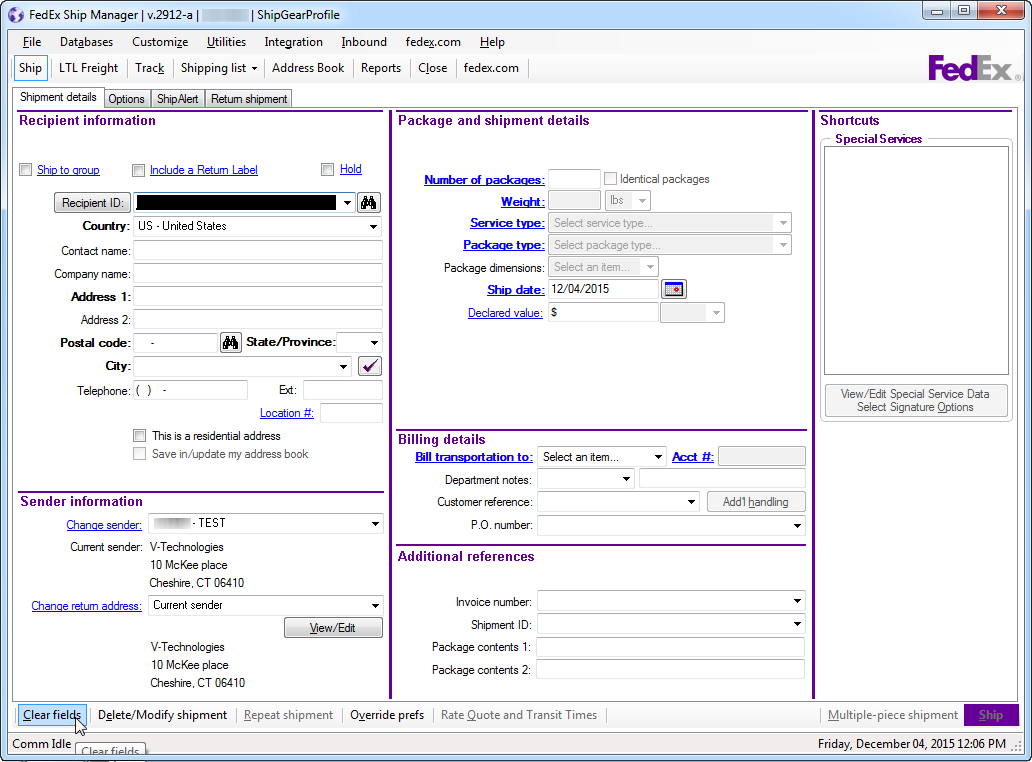
Run FedEx Ship Manager®.
Click OK at the Dangerous Goods informational dialog when you are done reading it.
In the bottom left-hand corner of the Ship Manager screen, click the Clear Fields button.
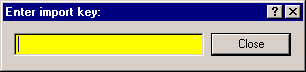
The ShipGear Import Key dialog pops up.
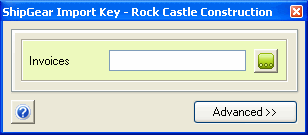
The document (Invoices, Customers, Sales Order, etc.) defaults to that which is currently selected in ShipGear Exchange Active Connection.
Note: In Advanced Mode, you can change the document to ship against. See Advanced Mode for more information.
After connecting to FedEx Ship Manager®, you can then type in a document key, such as the Invoice number, Sales Order number, Customer name, etc. and press Enter to populate the FedEx Ship Manager® screen with that record's data. You can also browse for records. See Browsing Documents for more information.