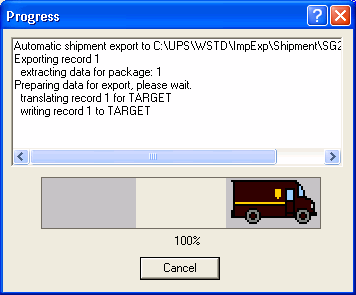
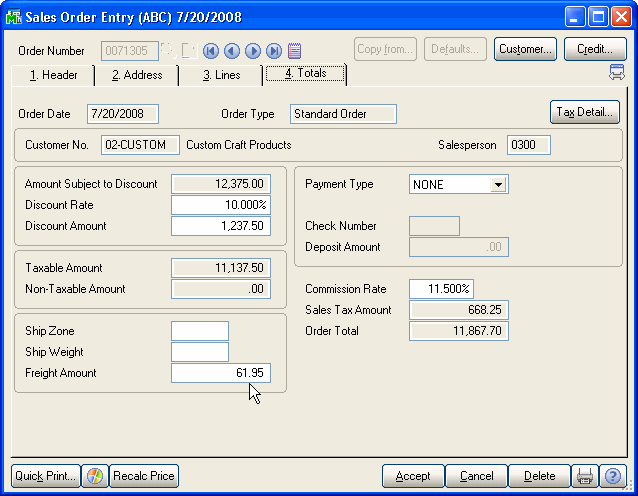
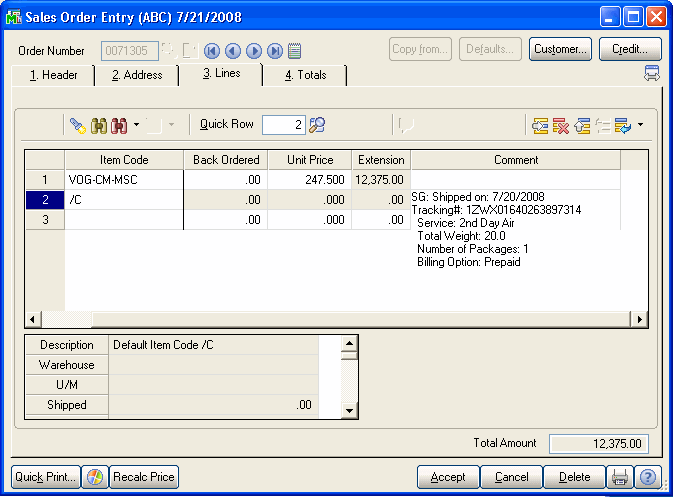
Open UPS WorldShip®.
From the Import/Export Data menu (UPS Online Connect for versions 9.0 and lower), select Keyed Import > SG2Import. Note: You may see the UPS OnLine Connect Reminder.
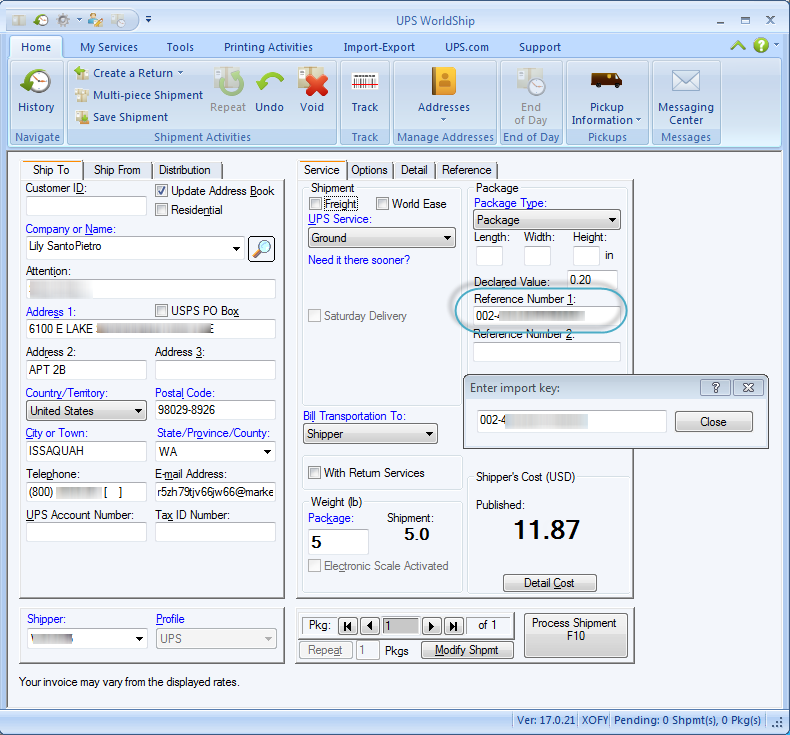
Enter the Sales Order number, Invoice number, or Customer into the Import Key dialog, and press Tab or Enter. You can also type a ? to browse.
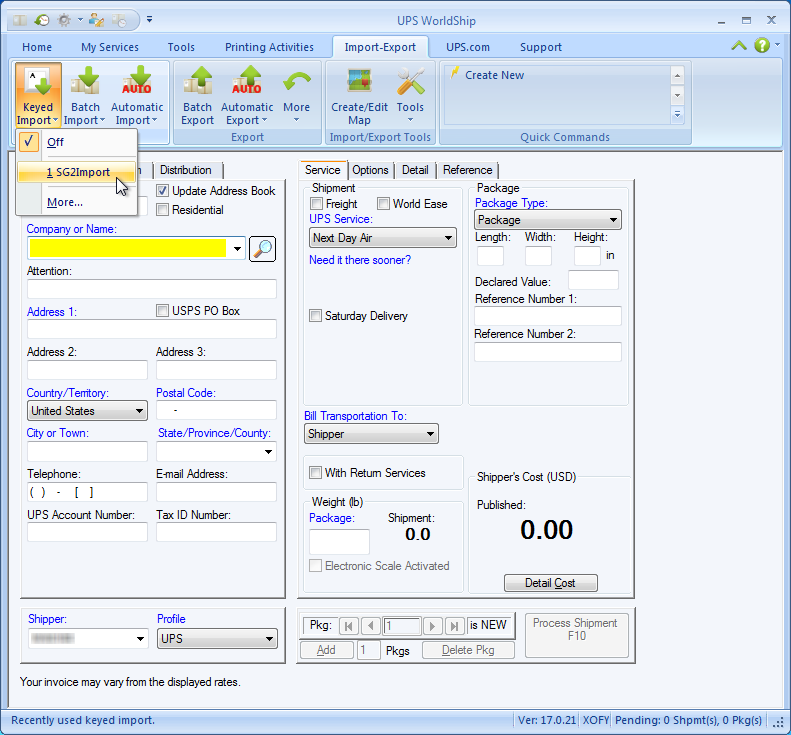
-
Sales Orders: You cannot create shipments against Master Orders, Repeating Orders, or Quotes. Therefore, if you enter a sales order number that corresponds to those types of orders, you will receive a message to that effect. Also, these types of orders are excluded from the order browser.
-
For all documents: You must enter a complete import key; a complete name or number. Use the ? feature to browse if you do not know it.
The Sage 50 ERP data is loaded into the WorldShip shipping screen.
Type in the package weight or put the package on the scale. If there is more than one package in the shipment, go to the next package and repeat this step for each package in the shipment.
Press F10 or click Process Shipment.
If necessary, validate the Ship-To Address.
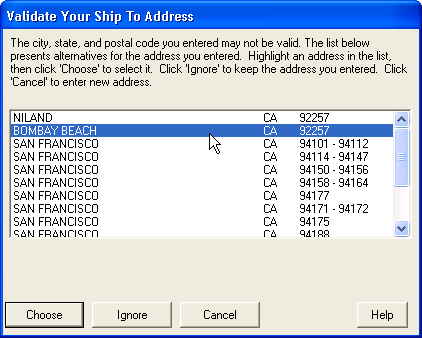
The shipment is processed:
