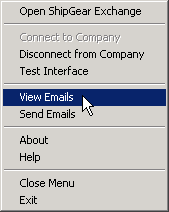
Go to the system tray on your Windows taskbar.
Right-click on the ShipGear icon.

Select View Emails from the menu.
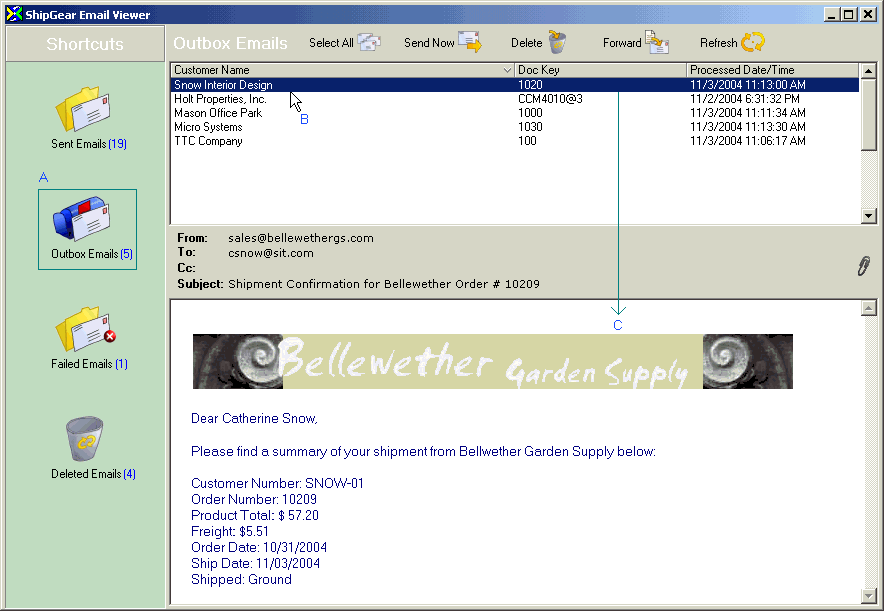
The Email Viewer is where you can review pending, sent, failed
and deleted emails. There are four parts to the Email Viewer: Shortcuts,
the toolbar, email grid, and the email display panel.
Go to the system tray on your Windows taskbar.
Right-click on the ShipGear icon.

Select View Emails from the menu.

Send email from the Email Viewer
Select the email(s) you want to send from the Outbox folder.
Click the Send Now button.
To view emails, click on a shortcut folder (A). The emails in the folder will display in the email grid (B). When you click on an email in the grid, the body of the email displays in the lower pane (C). Depending upon the folder you're in, various functions are available to you. (See the Shortcuts section for more information.) If your email has an attachment, it is indicated above the email by the paper clip symbol.
To sort emails, click on the heading column by which you want to sort the emails.

The column currently used as the sorting criteria is indicated by an arrow in the column heading.

Select an email or emails and then press any of the buttons on the toolbar to perform the indicated action. Click the image below for a pop-up description of each section.
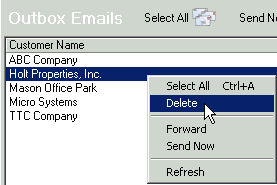
The toolbar options are also available when you right-click in the email grid:
The Shortcuts panel provides access to the four email folders.

The Sent Emails folder contains emails that ShipGear has already processed and sent. You can send, delete, or forward emails from the Sent folder.
Emails in the Outbox are waiting to be sent.
To send emails from the Email Viewer
Click the Outbox Emails shortcut.

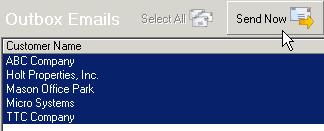
In the email grid, select the email you want to send. If you want to send multiple emails at once, hold the Ctrl key down while selecting the emails. To send all emails, click the Select All button from the toolbar or press Ctrl + A.
Click the Send Now button in the toolbar.
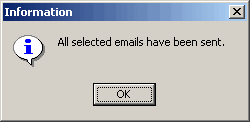
An informational dialog appears when the emails have been sent.
See also: Send emails from the system tray
The Failed Emails folder contains emails that could not be sent due
to some error. If any emails fail to send, a dialog box appears:

Viewing the cause of failure
Failed emails will display a failed icon above the email body: 
Click the icon to display the error associated with the sending failure.
Blank Addresses
When the From and/ or To email addresses are missing from an email, you have the ability to correct this in the viewer.
Press the Add button next to the missing email address.

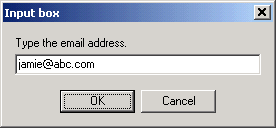
Type the email address into the dialog box and press OK.
This folder contains emails that have been deleted. If you want to permanently delete the emails in this folder, select them and click the Delete button in the toolbar. Click Yes on the Warning dialog.

Restoring deleted emails
If you want to restore deleted items to their previous location, select the email or emails and click the Restore button on the toolbar.

