Company Setup
The first time you run ShipGear, you need to perform a few basic setup steps. These steps involve connecting ShipGear to your Sage 50 company and linking to the carrier shipping software. ShipGear supports both UPS WorldShip® and FedEx Ship Manager®.
Note that the Sage 50 software must be installed locally on the same machine where ShipGear is installed.
- Exit the Sage 50 program.
- Select Start > Programs > ShipGear > Exchange. You can also double-click the ShipGear shortcut on your desktop. The ShipGear icon displays in your system tray as ShipGear initializes.
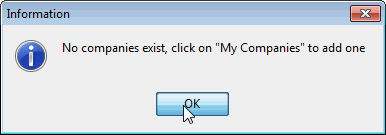
- ShipGear Exchange launches, a prompt appears saying that no companies exist.
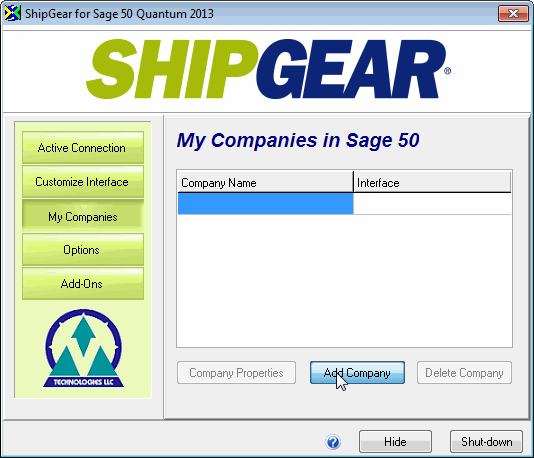
- Click the My Companies button. Then, click Add Company.
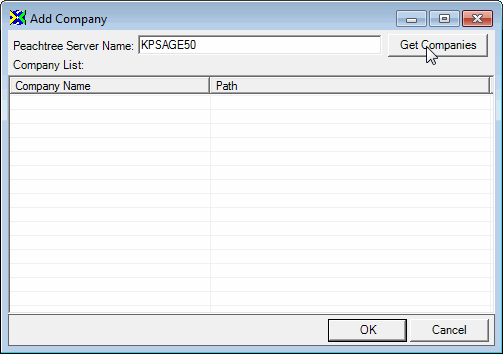
- On the Add Company dialog, click Get Companies. ShipGear looks for available company files on the Sage 50 Server that are defined in the dialog. If your company file resides on a different server other than what it listed, enter the Sage 50 Server Name and click Get Companies.
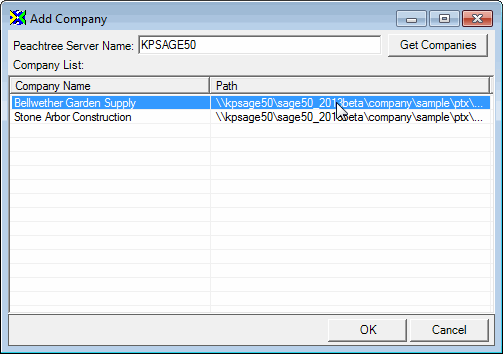
- Select a company and click OK.
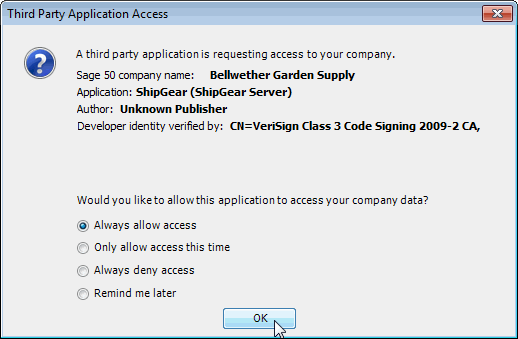
Note: If you forgot to close Sage 50 at the beginning of this process, you will need to relaunch Sage 50 now in order to grant ShipGear access to the company. You will see the dialog below. Wait for Sage 50 to load, while keeping the Open a Company dialog open.

If you click Cancel on this dialog, the next user to open Sage 50 will be prompted for third party access. The user will need to click on ShipGear Exchange > Active Connection > Connect.
- Select Always allow access then click Connect on the Open a Company dialog to connect ShipGear to your company. This gives ShipGear permission to integrate its functionality with Sage 50 to retrieve your company data.
- The company appears in your Companies list. When ShipGear is connected to a company and you are ready to ship, the red dot in the ShipGear icon becomes green.
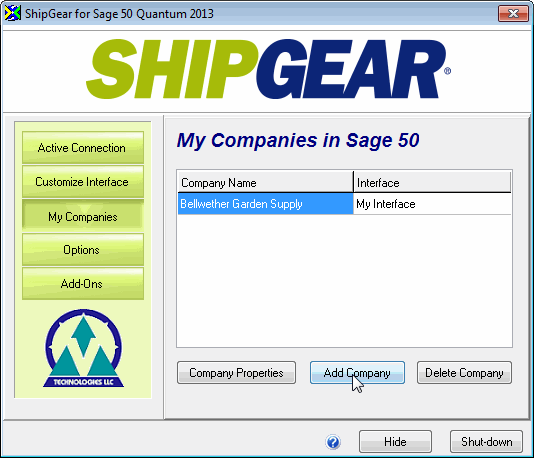
You can now add more companies, if desired. When adding multiple companies to ShipGear, the same procedure to Allow access must be done.


