Run ShipGear Exchange.
Select Start > Programs > ShipGear
> Exchange. You can also double-click the ShipGear shortcut
on your desktop. The ShipGear icon (with a red dot in the center)
displays in your system tray as ShipGear initializes.
![]()
If you are running ShipGear for the first time, the
ShipGear Email Notification Wizard pops up. Follow the directions
on each screen, entering the requested information into each field,
and clicking Next until you reach the end. More
about the Email Notification Wizard
Once you have completed the wizard, you will receive
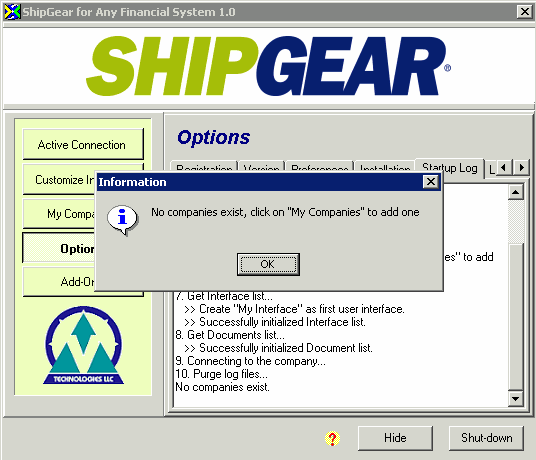
a prompt saying that no companies exist.

Click the My Companies button at the left of the ShipGear
Exchange Window.
Click Add Company.
In the Company File field, navigate to the financial
system company that you want ShipGear to access. You can display the
company name by clicking Display Company Name.
Note: The steps to do this differ slightly for each financial system.
If the financial system is installed on this workstation, ShipGear
can usually determine the list of companies automatically. If not,
you may need to point ShipGear to the system database (the one containing
the list of companies) or the company data first.
Declared Value warning: Select Yes to keep the declared
value mapping and have ShipGear automatically select this setting
in the carrier software.

Once connected to the company, you will notice that
the red dot in the center of the ShipGear icon is now green.
![]()


