This installation procedure is applicable for customers who are installing the ShipGear Admin on a server machine without the ShipGear Client. You can install the ShipGear Admin alone on a machine that does not have carrier shipping software installed on it, i.e. UPS WorldShip or FedEx Ship Manager. ShipGear supports the following Operating Systems for this type of installation: Windows 8, Windows 10, Windows Server 2008, Windows Server 2012, Windows Server 2012R2.
Please shut down any running carrier systems prior to starting the installation.
To begin the installation, click on the download link in the email you received, and save the .EXE to a local directory. Then, run the .EXE. Or, if you received an installation CD, insert the ShipGear CD into the CD-ROM drive.
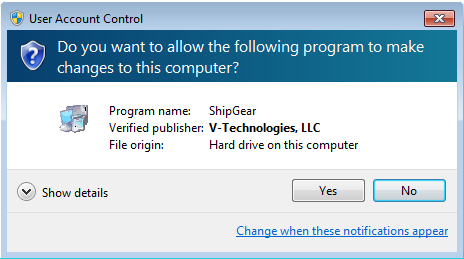
Depending upon your operating system, you may need to grant ShipGear the permission to make changes when you run the installation program. Click Yes when you see this dialog.
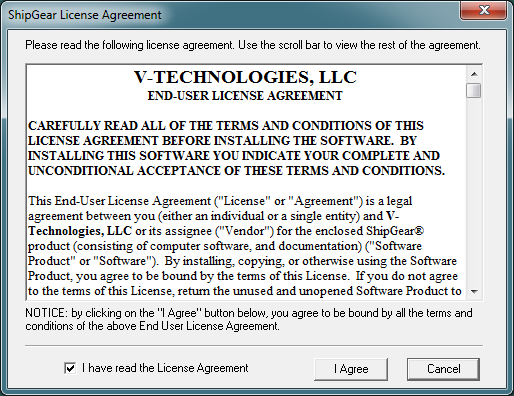
License Agreement : Read the License Agreement.
Check the "I have read the License Agreement" check box
and click I Agree.
The installer will first check for existing ShipGear
Admins.
Welcome Message : Before starting the installation,
it is recommended that you exit out of any programs you may be running.
Click Cancel to quit this installation or click Next to continue.

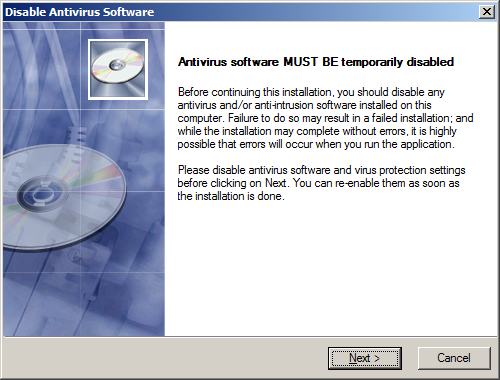
Disable Antivirus : It is absolutely crucial
for a successful installation that you disable any antivirus software
or settings. You can do this temporarily, until the installation is
complete, and re-enable them immediately afterwards. It is not recommended
to skip this step, as you will likely encounter errors later. Once
you have disabled your antivirus software, click Next.
Proxy Settings : If you are using a Proxy
Server, you must enable the URLs shown in the list before you continue
with the current installation. If you are not sure whether or not
your company uses a Proxy Server, ask your Network Administrator before
proceeding. Click Next.

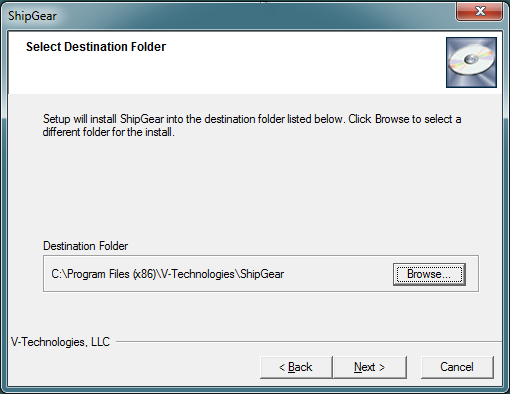
Select Destination Folder : To select a
folder other than the default, click Browse. Click Next.
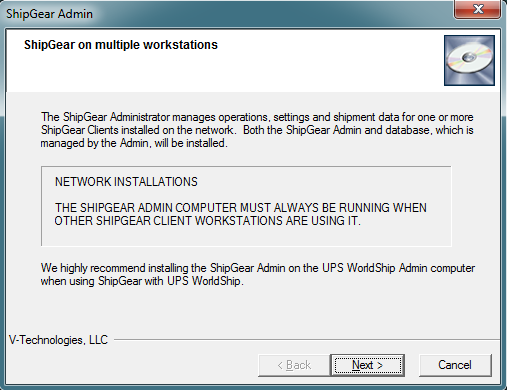
ShipGear on multiple workstations : This dialog
explains how ShipGear works across multiple workstations. Click Next
to begin the ShipGear Admin installation on this computer.
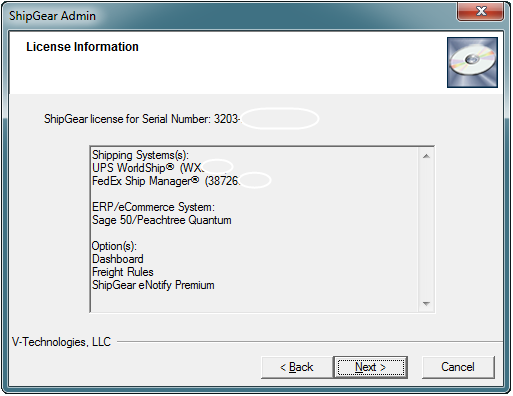
ShipGear License Information : Enter the license
information in the fields provided.
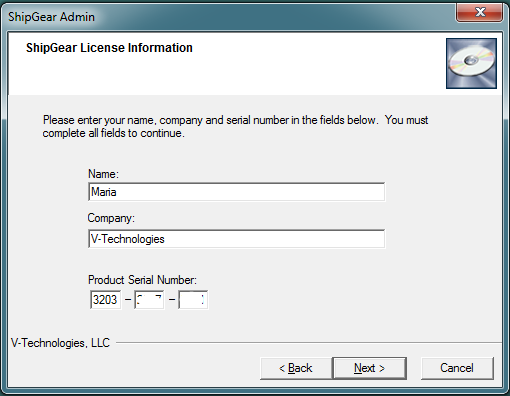
Your current license info is shown. Click Next.
Note : If the ShipGear Admin Not Detected dialog appears, setup could
not find an Admin or a previously installed Admin. If you need more
information, see the Admin Not Detected
topic.
Click Next to start the ShipGear Admin Installation.
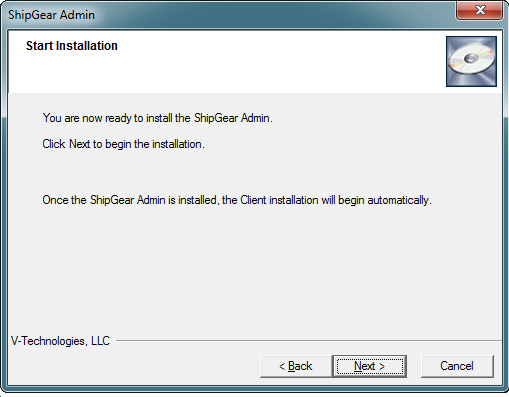
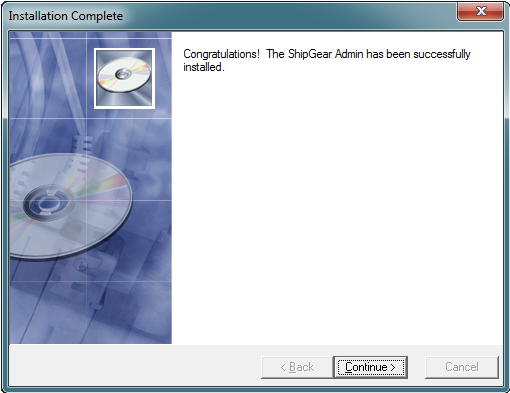
Installation is complete. Click Continue