Ship with FedEx Ship Manager®
Make sure that ShipGear is not running before you launch FedEx Ship Manager®.
Process a Shipment
-
Open FedEx Ship Manager®.
-
Launch ShipGear Exchange; by default, it minimizes to the system tray.
-
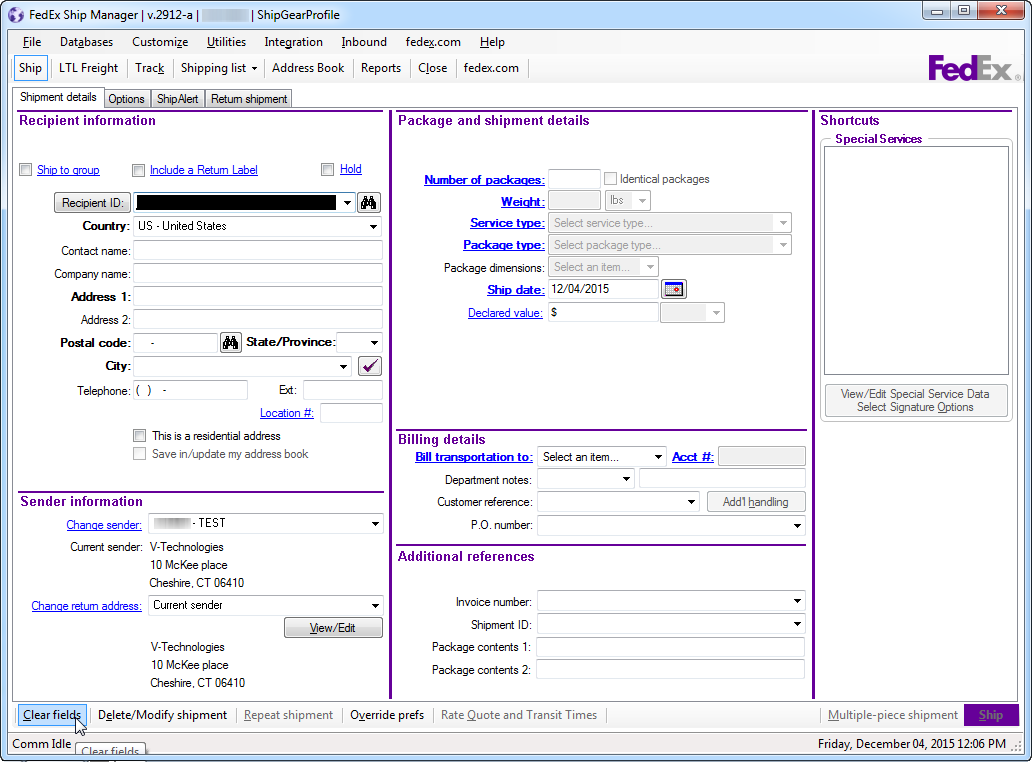
Back in Ship Manager®, click the Clear Fields button at the bottom left corner of the screen.
-
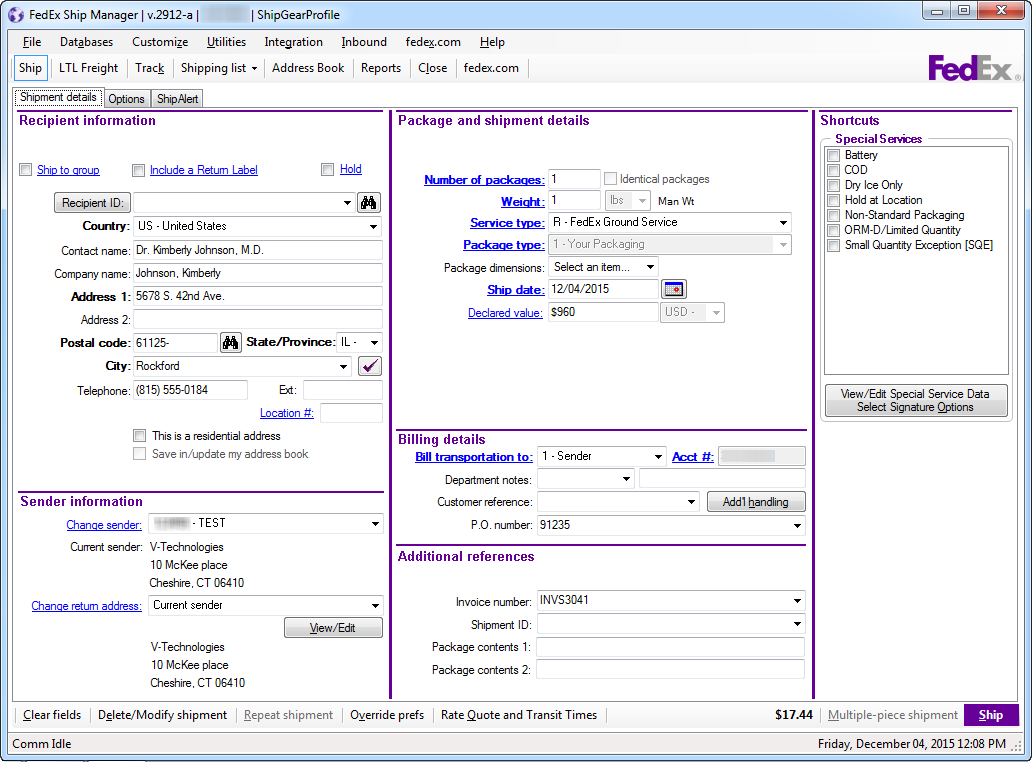
In the Lookup Value dialog box, type in the document (Order, Sales Transaction, Customer) number and press Enter.
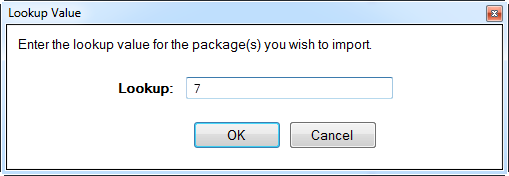
The record populates the Ship Manager® screen :
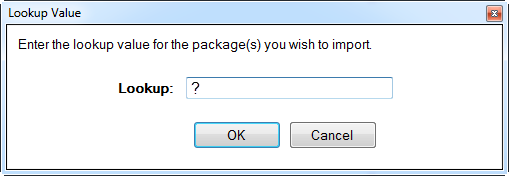
You may also browse for any of these documents by typing a "?" into the Lookup field. See Browsing Documents for more information. Note : Note : If you duplicate filters in your search, you will receive an error message. See Duplicate Search Filters for more information.
-
Type in the package weight or weigh the package with your electronic scale. Enter any other shipment information. If there is more than one package in the shipment, go to the next package and repeat this step for each package in the shipment.
Note : To change the Sender ID or have ShipGear set a default value for the Sender ID, see Sender ID below.
-
Click Ship or Press F10.

Sender ID
You can populate the Sender information in FedEx Ship Manager® in a few different ways :
- Store the Sender in FedEx Ship Manager®.
Select from a predetermined Sender in FedEx Ship Manager® under Sender information, in the "Change sender" drop-down list.
- Import the Sender ID from QuickBooks Online.
In ShipGear's Customize Interface, map the Sender field to a source field that contains the Sender name. For example, you can map the FedEx Sender ID to the "Bill To" field in QuickBooks Online. To access, view, or edit field mapping, click Customize Interface and select an interface. Then select a source document (Sales Receipts, Invoices, Customers). Set the "Target" to FedEx Ship Manager®, and under Shipment Details, select the Sender ID field. Set the Source field to QuickBooks Online and then select the field from QuickBooks Online that contains the Sender.
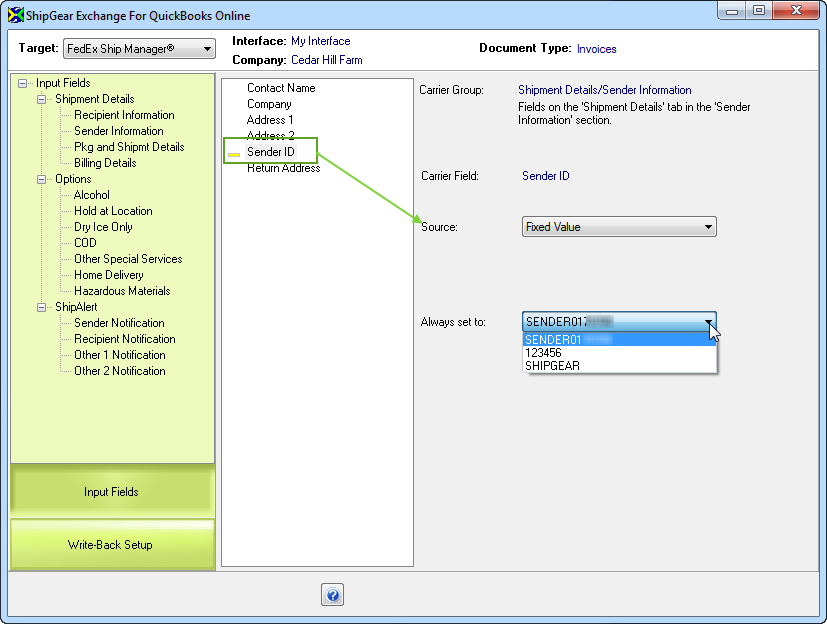
- Set the Sender ID to a Fixed Value.
Setting the Sender ID to a fixed value will always populate the Sender ID in FedEx Ship Manager® with the value to select. To access, view, or edit field mapping In ShipGear's Customize Interface, click Customize Interface and select an interface. Set the "Target" to FedEx Ship Manager®, and under Shipment Details, select the Sender ID field. Set the Source to "Fixed Value" and then select the Sender ID from the "Always set to:" field.
Notes about Drop-Shipping
The Drop-Ship account must have the same City/State/Zip as the FedEx account.
Write-Back
After the shipment is processed, ShipGear will write the freight and tracking information to the QuickBooks Online document (if you have write-back enabled). You can turn write-back on or off, create custom rules that control write-back, and decide what gets written back using Write-Back Settings.
|
Shipment/Tracking Information
|
QuickBooks Online Field
|
|
Freight charges
|
Shipping
|
|
Carrier
|
Ship Via
|
|
Ship Date
|
Shipping Date
|
|
Notes
|
Message or Memo field (depending upon your setup)
|
See also : Ship with FedEx Ship Manager® v28xx and lower