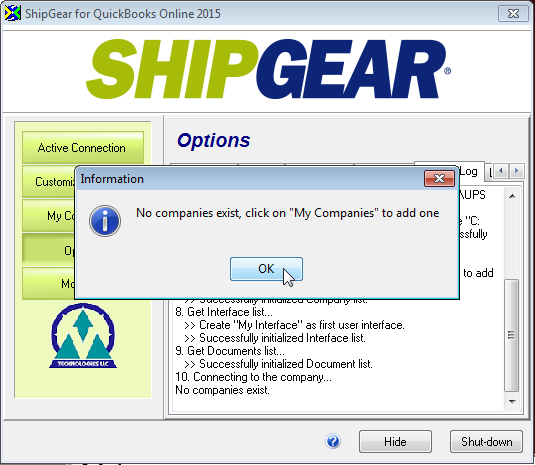
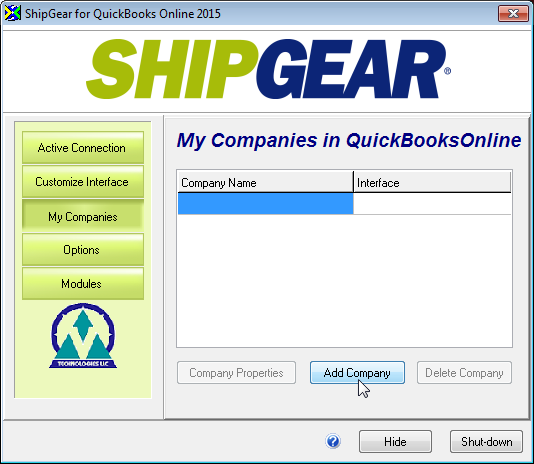
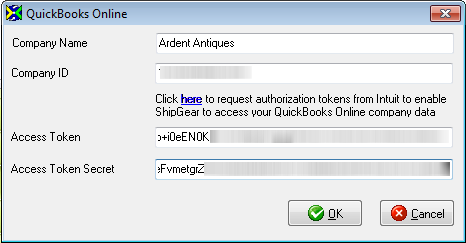
Enter the company information :
Company Name : Enter the company name. For clarity, it is best that this matches the company name in QuickBooks Online.
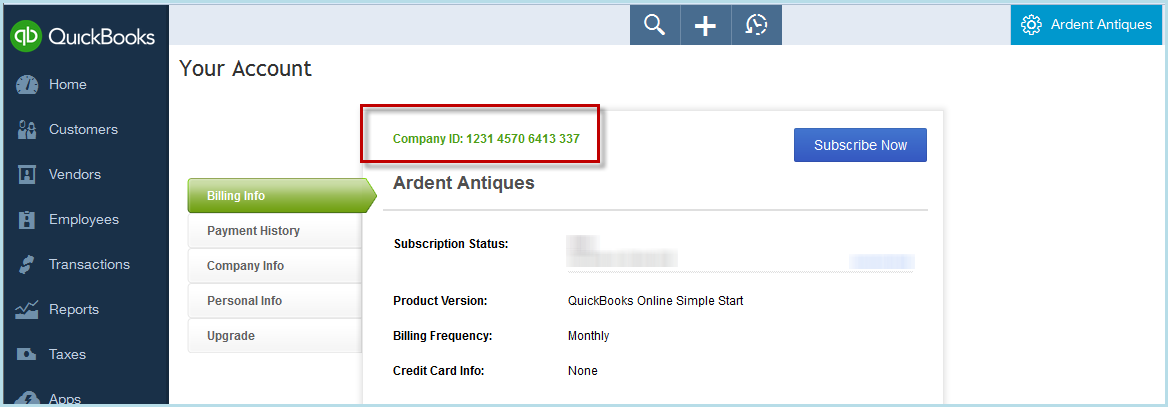
Company ID : You can find this information in Your Company > Your Account in QuickBooks Online.
Click the link provided on the dialog : "Click here to request authorization tokens from Intuit to enable ShipGear to access your QuickBooks Online company data". This will launch a new window that starts the token generation process.
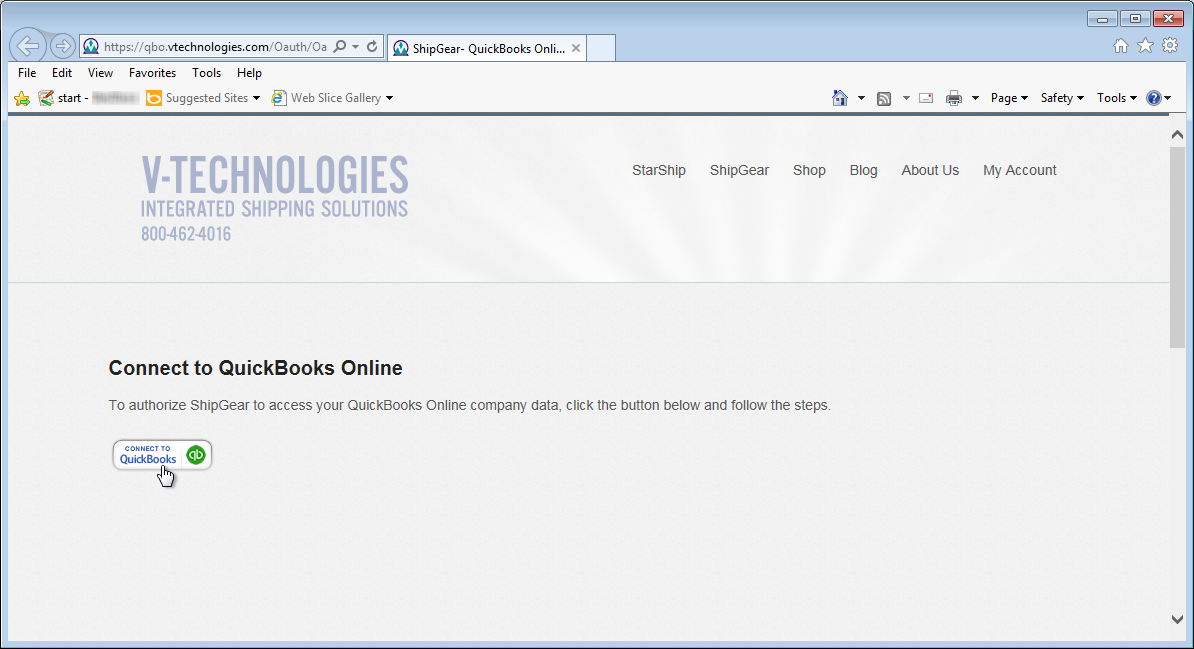
Click the "Connect To QuickBooks" button to start the process that authorizes access to your QuickBooks company data for ShipGear.
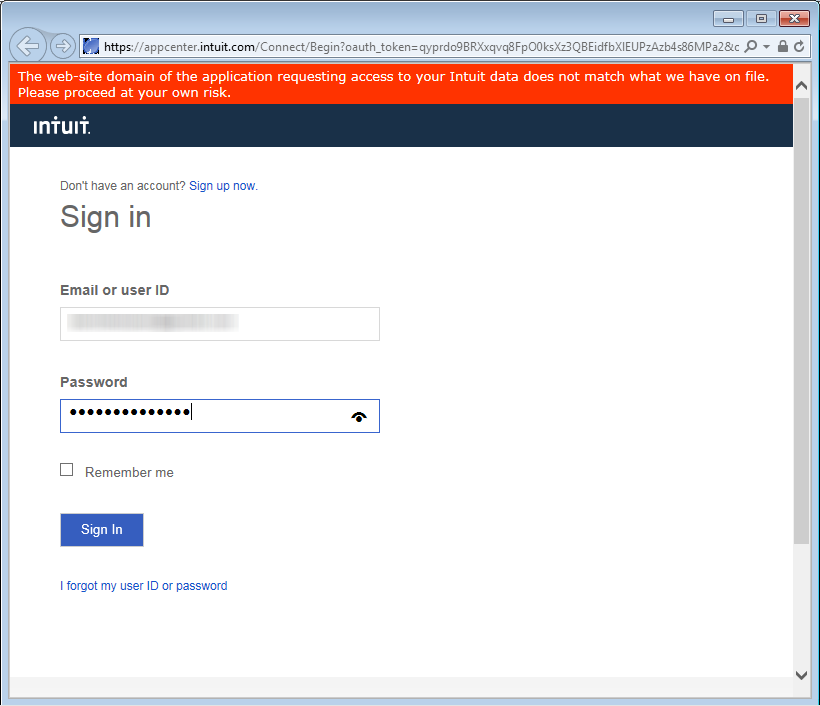
Sign in to your QuickBooks Online account.
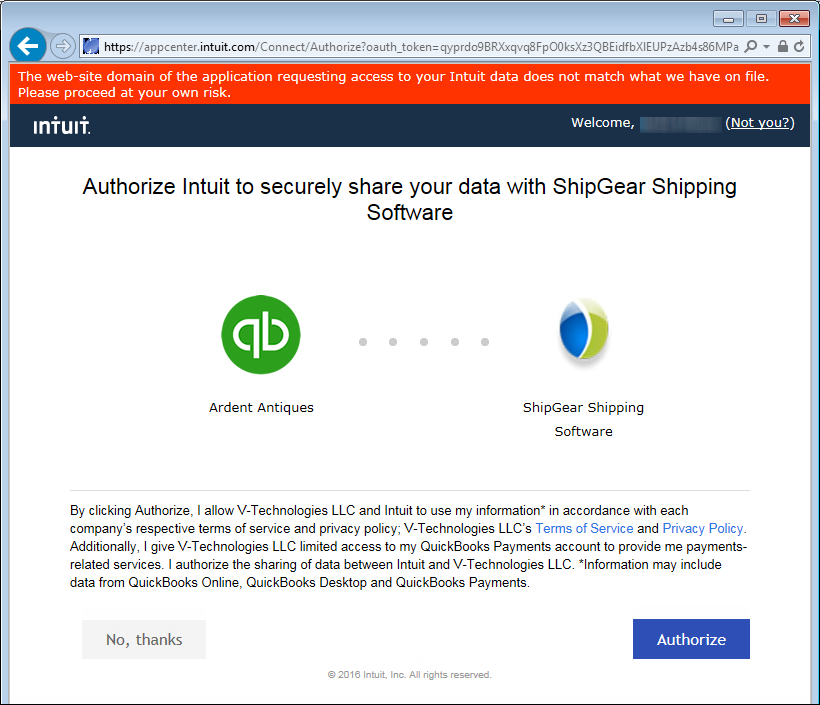
Authorize Intuit to share your company data with ShipGear by clicking the "Authorize" button.
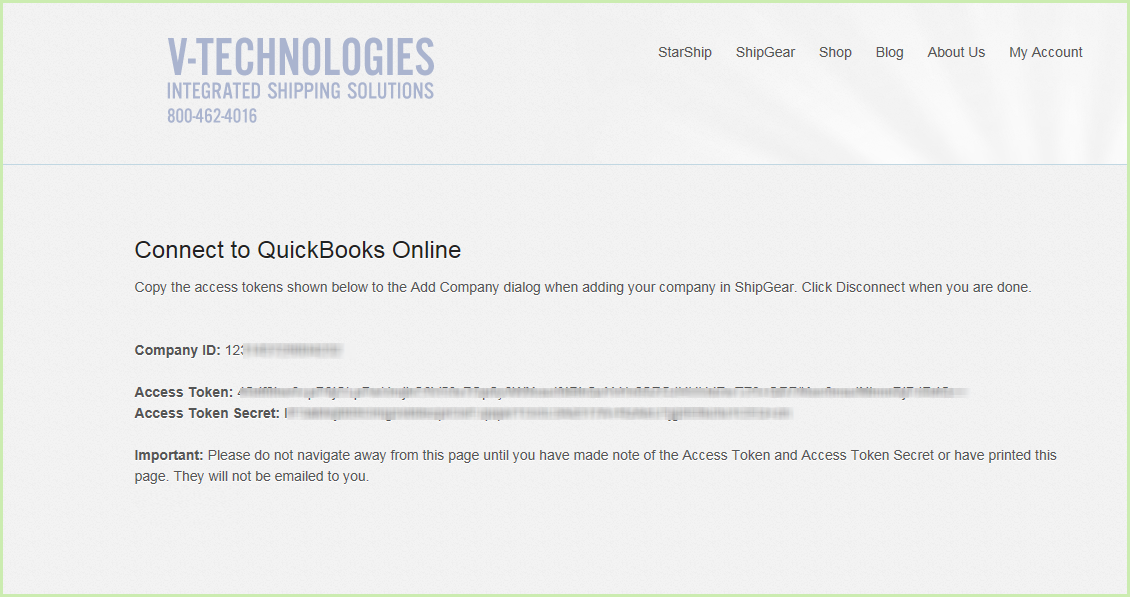
The next screen gives you the Access Token and Access Token Secret to enter on the Add Company dialog.
Copy and paste them into the QuickBooks Online dialog and click OK.
Declared Value warning
Select Yes to keep the declared value mapping and have ShipGear automatically select this setting in the carrier software.

Once the company is added, you can return to the "Connect to QuickBooks Online" window and close it.
