UPS
Field Mapping and Value Translations
Field Mapping
In order to populate the UPS WorldShip® fields with the correct shipping
data from QuickBooks, ShipGear's field mapping system that defines which
fields in QuickBooks are mapped to fields in WorldShip. For example, in
Customers > Invoices > Edit
Customers (in QuickBooks), the "Type" field by default
is mapped to the "Commercial/Residential" flag in WorldShip.
So, if you select a QuickBooks value of "Residential" for a
customer, the "Residential Address" check box is automatically
enabled in WorldShip®
when you ship to this customer.
Some field maps are included in ShipGear's default interface.
You can also customize field mapping to suit your company.
In
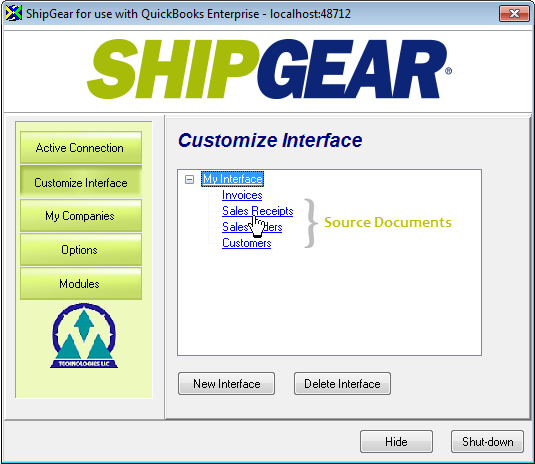
the ShipGear Exchange window, click the Customize Interface button.
Click the document type (Invoices, Customers, or Sales
Orders/Receipts) to access the edit interface screen, which allows
you to customize how QuickBooks fields are mapped to UPS WorldShip® input fields.
Select UPS WorldShip®
from the Target drop-down list.
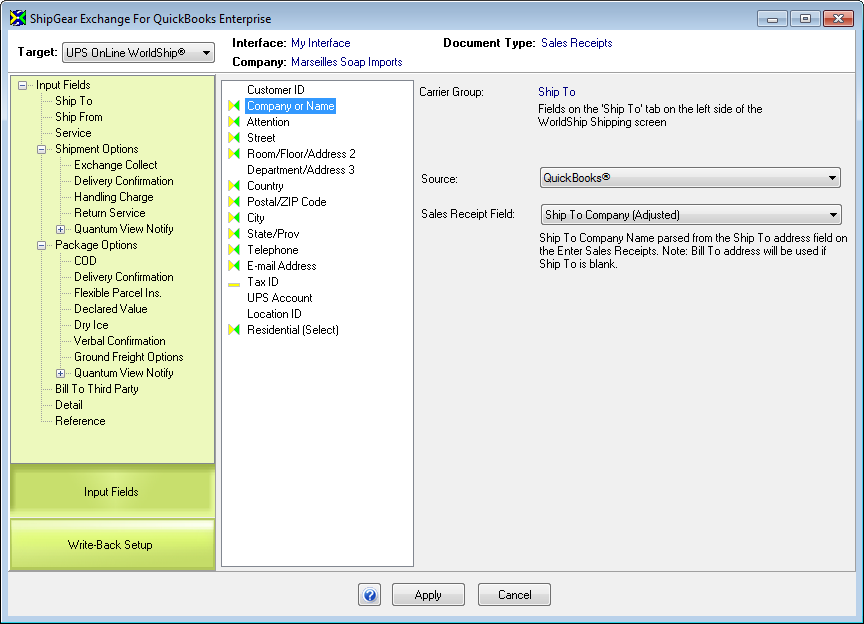
Customize Interface Window
At the top of the Customize Interface window, ShipGear
displays the Interface, the currently selected Company, and the Document
Type.
The UPS Input fields consist of a tree-style list that
displays fields from WorldShip organized by group. When you select a group,
its fields or subgroups become active in the center pane. A description
of the selected group or field appears in the right-most pane, along with
the current map settings and value translations.
Key
 : Fixed value
 : QuickBooks value
Default Field Mapping Examples
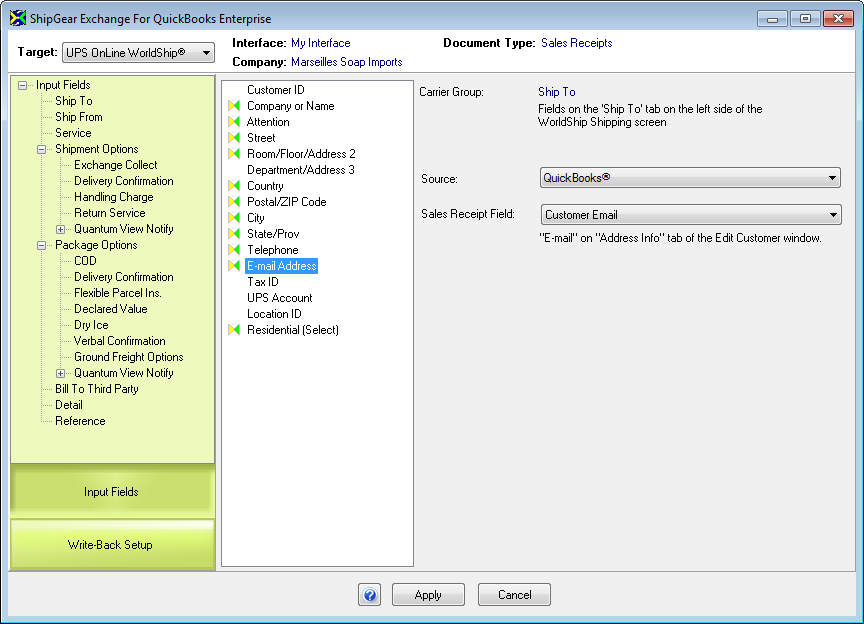
Some fields are mapped in ShipGear by default. For example, if you click
on the Ship To Input group, and select the E-mail Address field from the
middle panel, you’ll see an example of a field that is mapped to a QuickBooks
source, the "Customer E-mail" field, and its location.
Let's look at two other types of default mapping.
Here
are some examples of fields that are mapped to a Fixed Value:
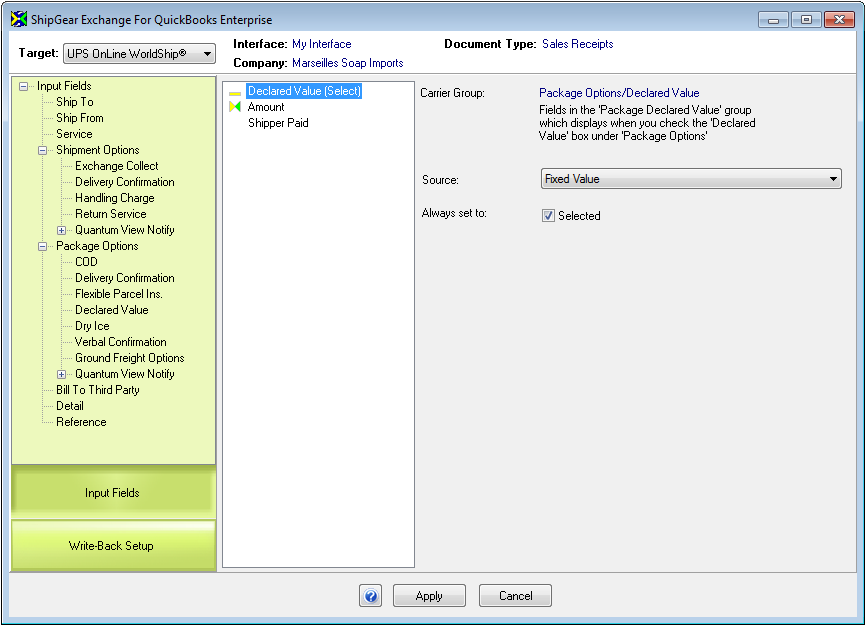
There are a few types of Fixed Value
Select - Click on the
Package Options Input group and select the Declared Value (Select)
field. You’ll see it is mapped to "Fixed Value," which in
this case is "selected." Select can only have two values
- selected and not selected. This mapping indicates that Declared
Value is enabled in WorldShipâ
for each shipment.
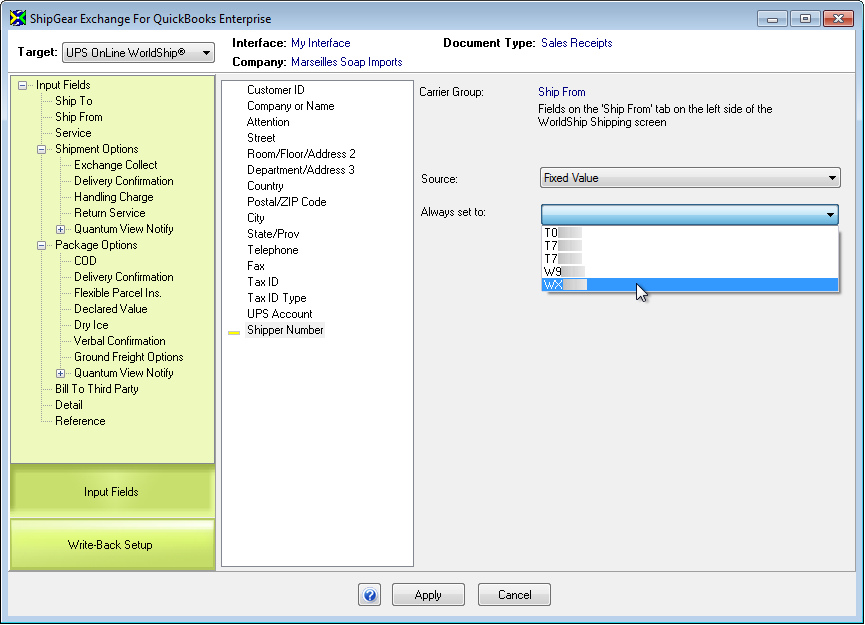
Always set to - Click
on the Ship From Input group and select the Shipper Number field.
This field will always set the Shipper Number in WorldShipâ to the value selected here.
Notes about "Adjusted Fields":
Address Adjustment: Certain Ship To fields in WorldShip
are mapped to "adjusted" address fields from QuickBooks. ShipGear
will adjust the address if fields are left blank in QuickBooks. See the
Address
Adjustment section for more information.
Customized Field Mapping Examples
ShipGear also allows you to customize field mapping. Here are two quick
examples. To do these examples, make sure you are in the Customize Interface
window for the interface you want to edit, as described earlier in this
topic:
Special Instructions for Shipment
You want to include notes on the shipment, select the
Detail
group. Select the Special Instruction for Shipment field from the
center panel. You’ll see that the Source is currently set to None. From
the Source drop-down list, select Fixed Value. In the Always set to: field,
type your instructions.
Set Flexible Parcel Insurance to On and set the default
Type
You want "Flexible Parcel Insurance" to always
be select by default. To do this, select the Package
Options > Flexible Parcel Ins. subgroup. Select Insured Value
(Select) from the center panel. The Source is currently set to None. From
the Source drop-down list, select Fixed Value and check the check box.
Then, back in the center pane, click on the Flexible Parcel Ins. (Type)
field. The Source is also set to None. Set the Source field to Fixed Value
and select a type from the drop-down list -- Basic, Expanded, or Time
in Transit. Once you save this mapping, Flexible Parcel Insurance will
be checked by default in WorldShipâ
and the type will be set to your selection.
When you are done with these examples, click
Apply.
Value Translations
There are two types of WorldShipâ
fields:
those that accept any information or "string"
as input,
those that only accept a specific list of possible
values.
In the latter case (2), we need to define Value Translations for those
fields. Value translations are just what they sound like … a way to take
a QuickBooks value
and change it to a value accepted by WorldShipâ.
Examples of such fields in WorldShipâ are
Domestic Service, Saturday Delivery (Select), or Package Type. Once these
fields are mapped to your QuickBooks
fields, we then need a way to make sure that WorldShipâ
gets values that it recognizes. That is where the ShipGear Value Translations
come in. Value translations define how the values from QuickBooks
are translated into WorldShipâ
fields that require a set of allowed values.
Where do the values come
from?
There are two sources:
QuickBooks:
Values you set up in QuickBooks,
such as Ship Via.
Adding them: If the field doesn’t have a values list
in QuickBooks,
you can add values in ShipGear.
Built in ShipGear features for Value Translations
Default Value Translations:
ShipGear looks for key words in the
QuickBooks input string and returns a default value for
the WorldShipâ
field. It also can translate a string value into a WorldShipâ field value based on key words.
When you select a document (i.e. Customers, Sales Receipts,
etc.), default Value Translations are used if you haven’t specifically
set a value translation. You can see the default translations currently
applied by accessing the value translations window in ShipGear Exchange
(the Click here to update Value Translations link on the Edit Interface
window).
See Default
Value Translations
Rules
Rules are applied when one QuickBooks
field is mapped to multiple WorldShipâ field/value.
ShipGear checks against these rules to make sure they are allowed together.
When ShipGear applies rules, it uses the precedence that is shown in the
Value Translations window (higher precedence to the left). However, when
you (the user) change values manually, your changes are given the highest
precedence.
Rules are applied to all fields in a shipment so that
the data sent to WorldShipâ
is consistent.
See Value
Translation Rules
To access Value Translations
With the WorldShipâ
field for which you want to set Value Translations selected, click the
link that says "Click here to update Value Translations."
The Value Translations window appears. This window shows you a list
of the existing Value Translations for a field.

Refresh Values
To get the newest values from QuickBooks,
click the "Refresh ‘field name’ Values" button. If an "Update"
button appears, you can add and delete values as shown in the next section.
Add values
Select "Update ‘fieldname’ Values."
(replace 'fieldname' with the name of the field you've selected)
In the Value List, type any values that could
be entered for the field you selected.
Note: You can also delete values by selecting them here and pressing
the Delete button on your keyboard.
Click OK.
If necessary, assign value translations for you
newly added values.
Click OK again to exit Value Translations.
Change Value Translations
In the Value Translations window, modify the Value Translations as desired.
ShipGear will check your changes against the set of built-in rules that
coordinate with UPS shipping rules.
Field Mapping and Value Translation Examples
The following examples show you how to use field mapping in conjunction
with Value Translations: