Add the eBay Seller Account
You can add your eBay company to ShipGear using your eBay Seller Account
information. As you have not yet defined the eBay Seller Account to which
you want to connect, you receive a prompt saying that no eBay seller exists.
Click OK.
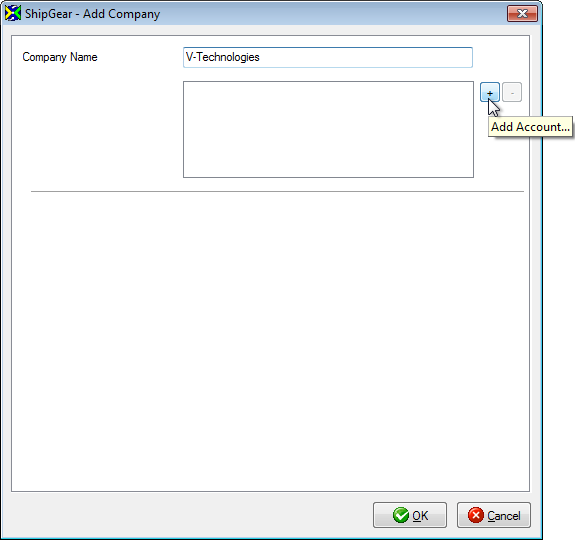
- Click the My Companies button and then click Add
Company.
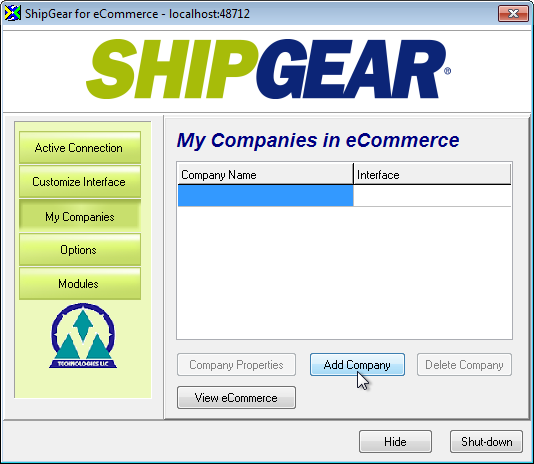
- Enter the Company Name and click the Add Account
(+) button.
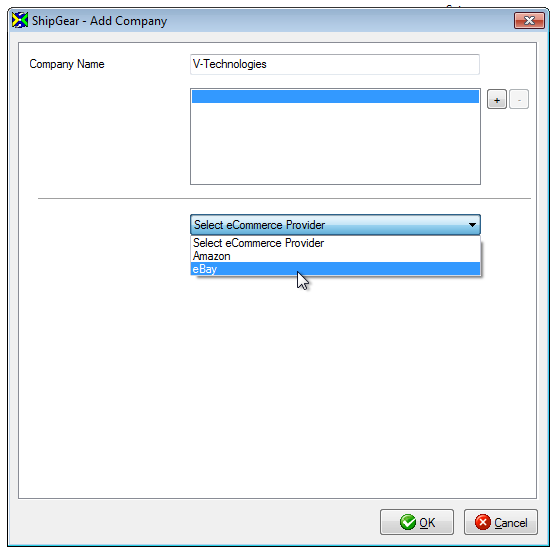
- Select eBay as the eCommerce Provider.
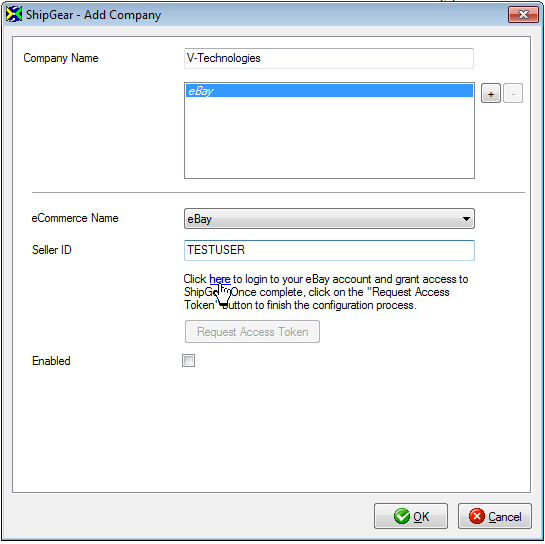
- Enter your
eBay User ID in the provided field and click the "here"
link.
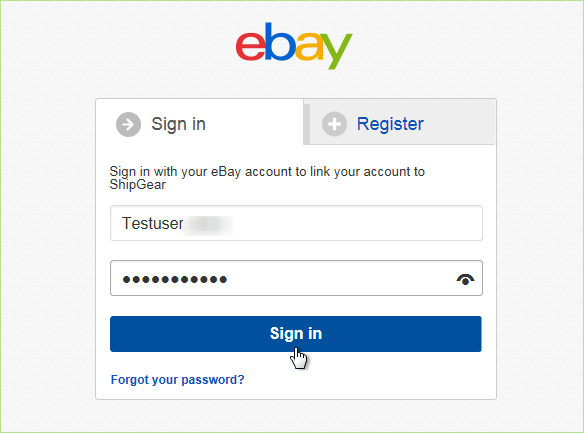
- The eBay Sign In page is launched in your Internet
browser. Your eBay ID may already be filled in for you. If not, enter
it in the field provided. Enter your Password and click the Sign In
button.
- On the ShipGear Authorization page, review the Consent
Agreement. Click I Agree to allow ShipGear access to your eBay account
information.
- You may now close the browser window to return to
the ShipGear interface.
- Click the Request Access Token button. The token
you create needs to be renewed every 18 months. Seven days before
the expiration date, ShipGear will prompt you to renew the token.
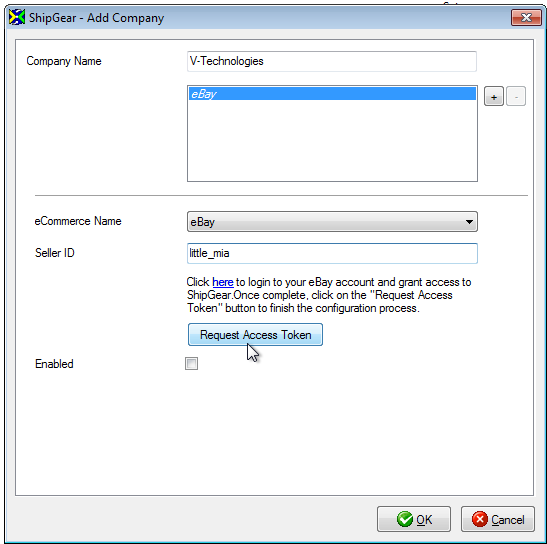
- Click the Enabled check box and click OK. The company
is added to your My Companies list.
- Declared Value
Setting
Select Yes to keep the declared value mapping and have ShipGear automatically
select this setting in the carrier software.
Select No if you do not wish to have the Declared Value mapped in the
carrier software :
Once ShipGear is connected to eBay, you can connect to the carrier system to
begin shipping.
Or, if you want to continue later, use the Run
ShipGear steps to get started every time you want to initialize ShipGear.
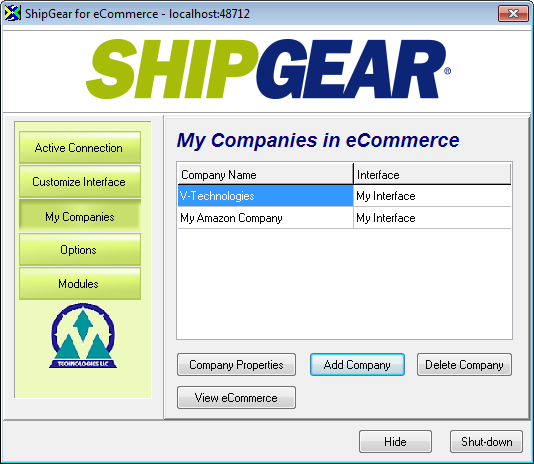
- To edit the values of any of the company fields,
you can click Company Properties.
- To add another eBay company, click the Add Company
button and repeat the steps above.
- To delete a company, click the Delete Company button.
You will have a chance to confirm or cancel the deletion.
- To view the status of your eCommerce shipments,
click the View eCommerce button.
See also : eCommerce Settings
Connect to the Carrier Shipping Software
Once ShipGear is connected to your eBay company, follow these steps
to connect to UPS WorldShip® , FedEx Ship Manager®, and/or Endicia Professional®.
UPS
WorldShip®
- Run UPS WorldShip.
- From the Import/Export Data menu, select Keyed
Import > SG2Import.
- The Enter import key: dialog box appears. It stays
open until you close it or exit WorldShip.
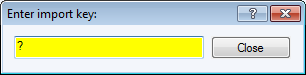
Note: If you do not see "SG2Import" on the UPS Import/Export
Data menu, select More… and then select SG2Import from the list. Click
the Import button. You will then see the Enter Import key: dialog
box.
You are ready to start shipping!
FedEx
Ship Manager®
- With ShipGear Exchange shut down, run FedEx
Ship Manager®.
- Click OK at the Dangerous Goods informational
dialog when you are done reading it.
- Launch ShipGear Exchange; by default, it minimizes
to the system tray.
- In the bottom left-hand corner of the Ship Manager®
screen, click the Clear Fields button.
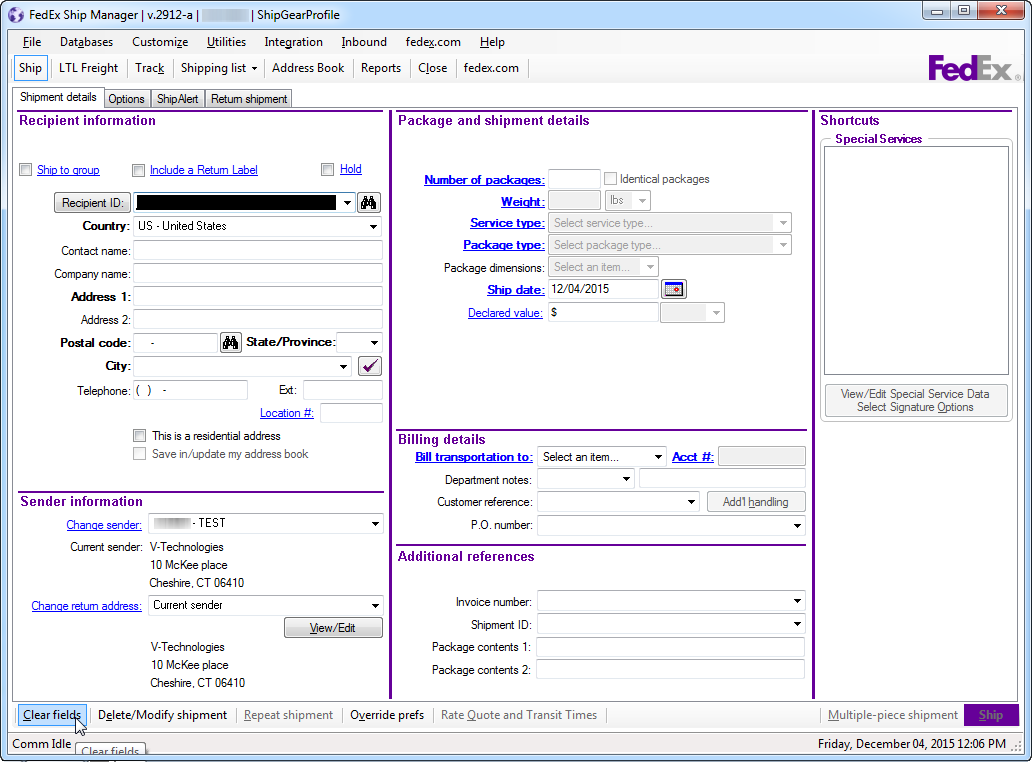
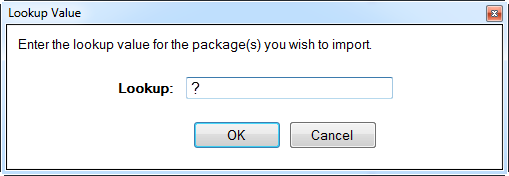
The Lookup Value dialog pops up. Type
in a document key, such as the Invoice number, Order number, Customer
name, etc. and press Enter to populate the FedEx Ship Manager
screen with that record's data. You can also browse for records.
See Browsing Documents
for more information.
Note : If you are using FedEx Ship Manager® v.28xx or lower, you'll
see the ShipGear Import Key dialog instead. See Shipping
with FedEx Manager (v.28xx and lower) for more information.
Endicia
Professional®
Note : If you
are using Endicia Professional with DAZzle, you must set up your account
in DAZzle before launching Endicia Professional.
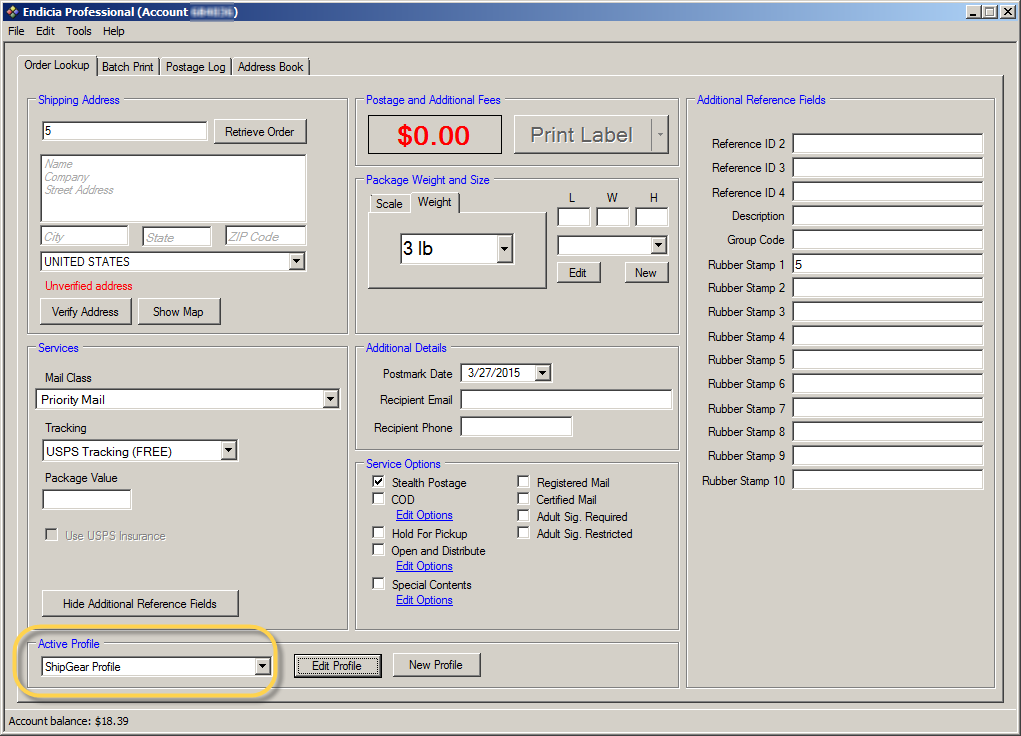
- Open Endicia Professional. ShipGear adds all of
your active profile settings to a new "ShipGear Profile".
This must be the Active Profile when shipping.
If Endicia Professional
(using Label Server) is running, you will be prompted to exit
and relaunch Endicia so that the ShipGear Profile can be created.
If Endicia Professional
is not running, launch it and you will see the ShipGear Profile
in the Active Profile field.